
 Weather: 614-526-6500

An easy game of catch starts with two people close together and facing one another. The receiver shows a glove target; the thrower steps toward it with the opposite foot. Keep the tosses manageable, adjust one problem at a time, and stop if throwing causes pain.
Start with a catchable throw and a ready partner
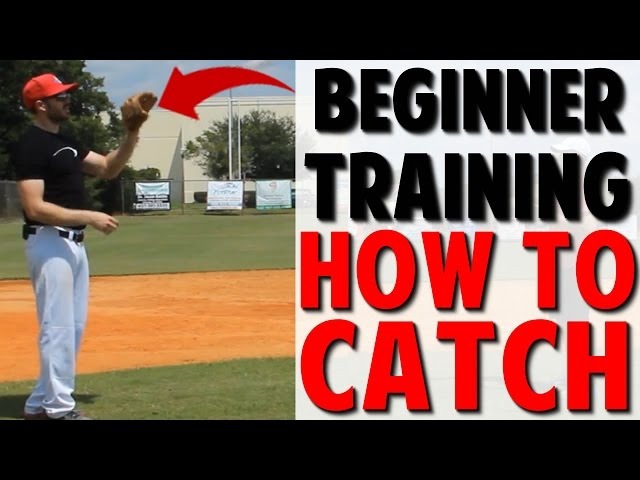
Choose open ground with secure footing and a clear throwing lane. A right-handed thrower wears the glove on the left; a left-handed thrower wears it on the right. Have the receiver face the thrower, show a chest-high target, and signal readiness before the ball moves. A baseball is fine if both partners are comfortable; a tennis or foam training ball offers an easier introduction.
Make a controlled throw toward the glove
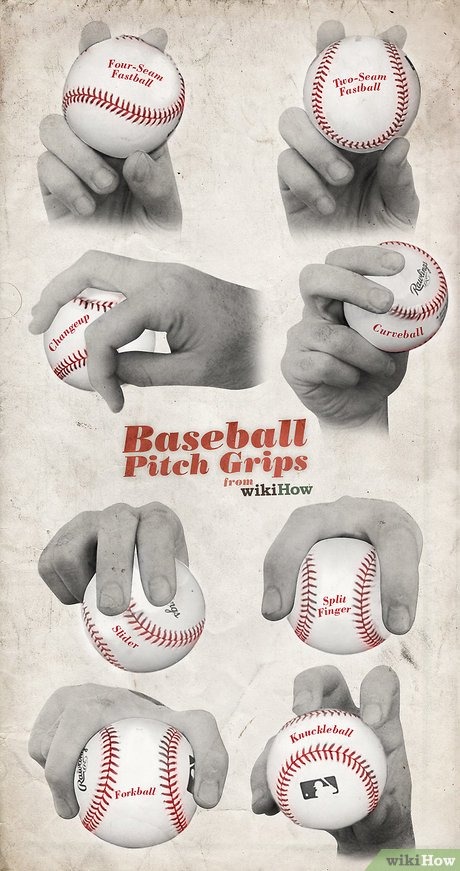
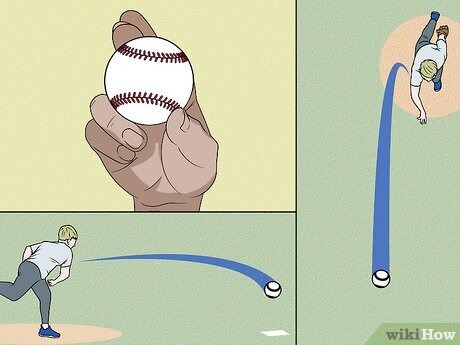
Find the baseball's curved seams and place your fingers across them, with your thumb under the ball. This is a four-seam grip. Use two fingers if your hand is larger, three if it's smaller. Hold the ball firmly without squeezing it deep into your palm.
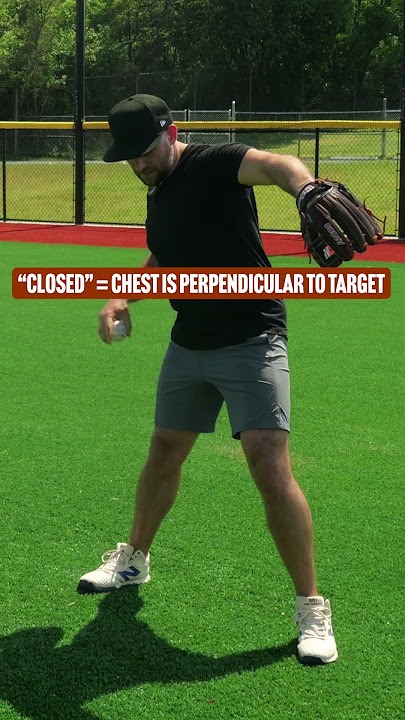
Turn sideways, keep your eyes on your partner's glove, and point your front shoulder toward the target. As your arm comes forward, step toward the glove with the foot opposite your throwing hand:
- Right-handed thrower: step with the left foot.
- Left-handed thrower: step with the right foot.
Let your body turn through the throw, release the ball toward the target, and let your arm follow through.
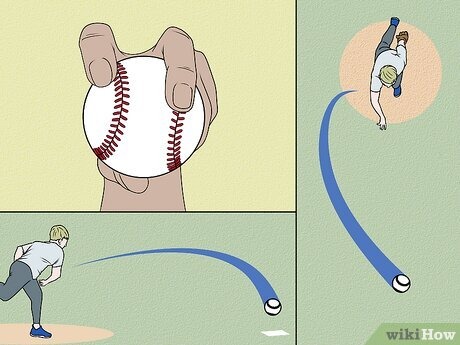
A right-handed parent and a left-handed child step with opposite feet, but both aim at a chest-high glove. If the throws keep drifting sideways, remind the thrower to step toward the glove on the next easy attempt.
Throw at a pace your partner can handle. A hard throw makes a beginner duck.
Catch the ball at the right height, then secure it
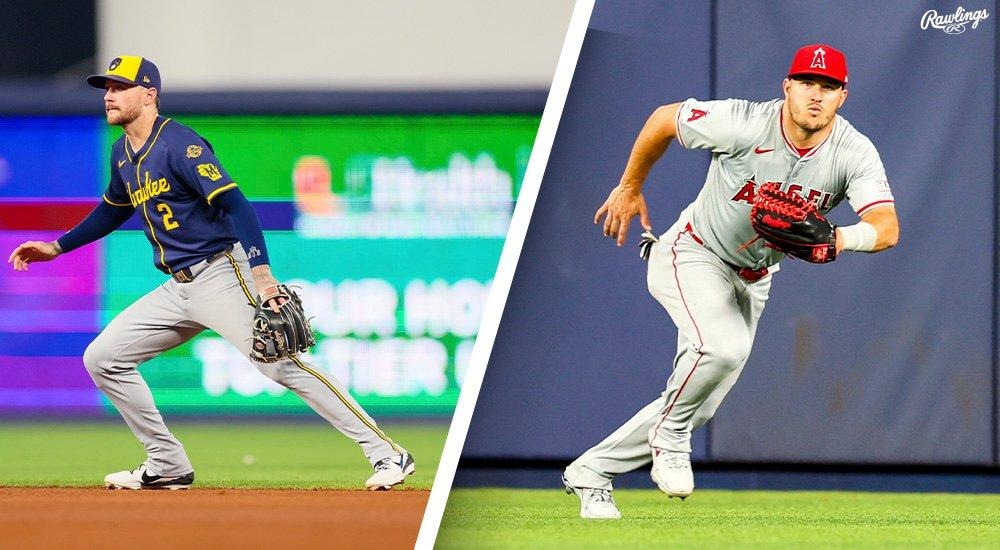
Before the ball arrives, watch the throw and keep your feet ready. If the throw is off, move toward it. The glove meets the ball where it arrives.
| Where the ball arrives | Glove position | What to do |
|---|---|---|
| Near chest height | Opening faces the ball, fingers up | Watch the ball into the pocket |
| Below the waist | Lower the glove and tilt it, fingers down | Bend or move your feet to reach the ball |
| Well outside reach | n/a | Don't force an awkward lunge. Let the ball pass and retrieve it |
A glove held flat at waist height lets a chest-high throw clip the edge of the leather. Turn the opening toward the ball and the pocket gives it a place to land.
Once the ball is in the pocket, close the glove around it and use your throwing hand to help secure it. Transfer the ball to your throwing hand and make the return. On a hard or unpredictable throw, keep your bare hand out of the ball's path.
When a throw or catch misses, fix what you can observe
A miss comes from the throw, the glove position, or the pace. Pick one adjustment, then see whether the next easy attempt improves.
| What happens | First change to test | What you'll see when it works |
|---|---|---|
| Throw sails high or sideways | Throw easier and step toward the glove | Ball lands closer to the target |
| Throw falls short | Move closer together | Ball reaches your partner without extra force |
| Catcher freezes | Pause and restart with an easier, predictable toss | Catcher watches and responds |
| Catcher ducks or turns away | Stop and deal with the discomfort before continuing | Catcher is willing to look at the next toss |
| Chest-height throw clips the glove | Turn the opening toward the ball | Ball lands in the pocket |
| Low throw is missed | Lower and reposition the glove | Catcher reaches it without strain |
| Ball enters glove but drops out | Slow the toss and secure the ball before transferring it | Ball stays in the glove |
Practice with a simple five-exchange routine
Five easy exchanges give each of you a turn on both sides. For station rotations, coaches and practice space, see give each station one clear job.
- Get ready. One partner shows a target and acknowledges the thrower.
- Exchange the ball. Make an easy toss, catch and secure it, then return it.
- Check the throw. Did it arrive within reach?
- Check the catch. Did you hold the ball before transferring it?
- Record one next step. Write down one miss and one change to test.
A written record can be as short as this: “Throw within reach: yes. Secured catch: no. Ball hit the pocket and fell out. Next try: close the glove around the ball.”
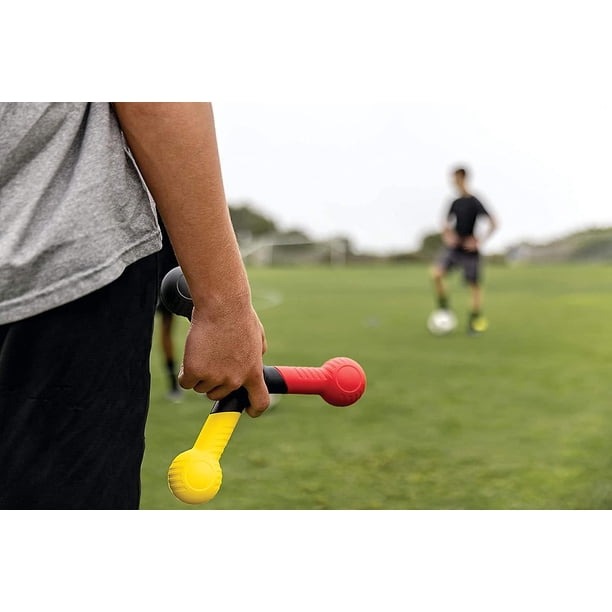
When two beginners can't yet trade catchable throws, split the skills for a while. A parent or coach delivers easy, predictable tosses for catching practice, then the beginner aims throws at a target. Go back to partner catch when both parts feel manageable. For throwing, hitting, and fielding fundamentals, see how to learn to throw and catch without rushing the ball.
Play Game of 21 when catch feels comfortable
Little League describes a version of Game of 21 in which the catcher holds a chest-level two-hand target and the thrower earns points for accuracy:
| Throw location | Points |
|---|---|
| Directly at the chest-level target | 3 |
| Somewhat outside the target | 2 |
| Well outside the target | 1 |
Every throw earns at least one point, and the game ends at 21. Scoring is optional. Plain catch works if you'd rather focus on the exchange. For ground balls, fly balls, and infielders, see starter ground-ball drills: receive first, then move.
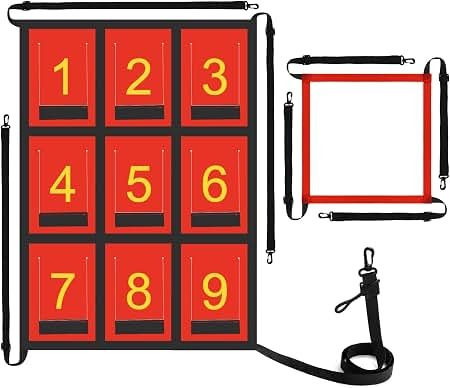
In a separate Little League throwing accuracy drill, the target sits about 10 feet in front of a fence and the throwing spot is about 30 feet away, after roughly 10 minutes of warm-up catch.
Once basic catch feels comfortable, a slightly longer distance or a different target adds variety.
Change the plan when catching feels scary or throwing hurts
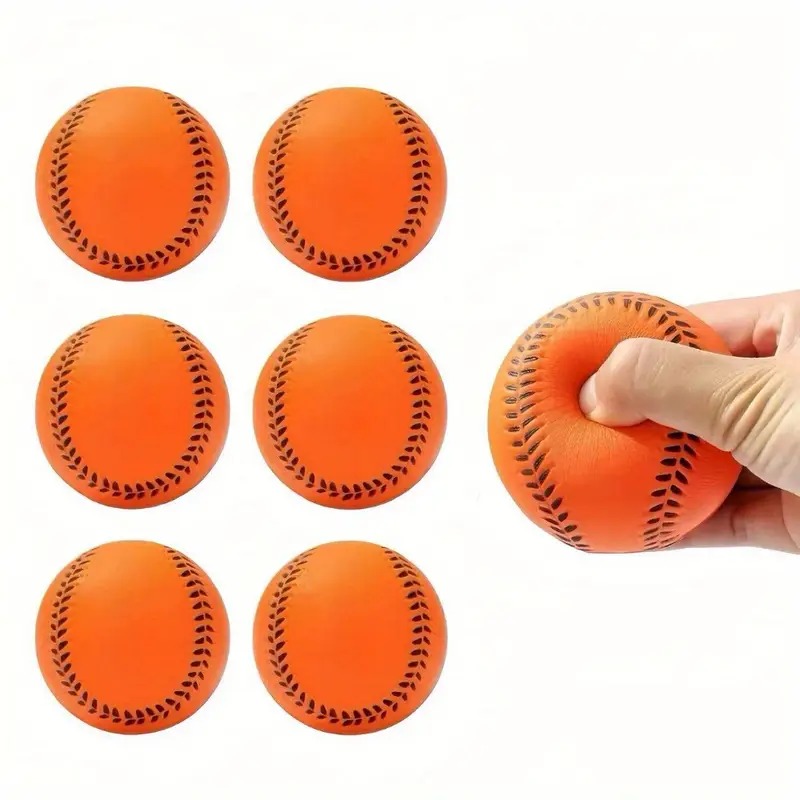
After being hit by a ball, a child may turn away from the next catch. Give them the chance to pause, then reintroduce the movement with a ground roll or a gentle foam- or tennis-ball toss.
A glove that is too stiff or poorly fitted can make an easy toss hard to hold. If the ball keeps popping out, try opening and closing the glove on the player's hand and check whether it stays in place. Fit and control tell you more than price.
Shoulder or elbow pain changes the plan: stop throwing. If the pain is sharp or persistent, get it checked by a healthcare professional. The American Academy of Pediatrics describes throwing-related elbow overuse in youth baseball, including players outside the pitching position.
Receiving a pitched ball, gathering a grounder, and catching a batted fly ball call for different techniques. This partner routine is the foundation, not a substitute for those separate skills.